Second only to my boil in bag cooking, this is the best camping recipe ever! It turned out so well, that I even made them at home after our trip to Yellowstone! You can make these for 1 to 20, all you need is more eggs and a bigger pot!
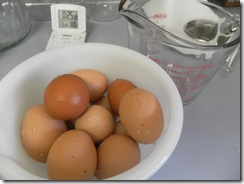
Beat desired number of eggs with a splash of milk. I make our omelets with 3-4 eggs each, but you can make them smaller.
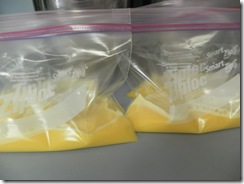
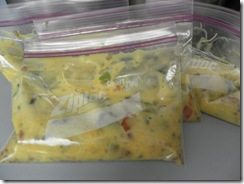
Divide the egg mixture evenly into heavy duty freezer bags. I use pint-sized Ziploc brand freezer bags. Don’t use cheap bags, they’ll melt! At this point you can freeze the eggs in the bags for camping. Just throw them into the cooler frozen and use them after they’ve thawed.
 Prepare your favorite omelet fillings. I sautéed onions, mushrooms and peppers. Then threw in crumbled bacon and grated cheese. For camping, I froze all my fillings in a bag that were thawed when I was ready to use them.
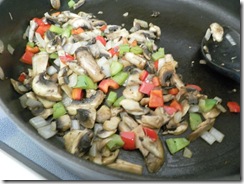
Add your fillings into your egg bags. Squeeze out as much of the air as you can from the bags before sealing. Gently squeeze bags to mix up your fillings into the egg mixture.
Place bags into a large pot of boiling water.
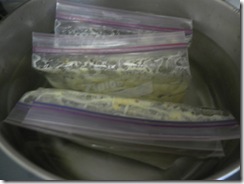 Return water to a boil. Reduce heat to a simmer. Cover and simmer for 10-15 minutes or until eggs are no longer runny. They may not take as long if you use fewer than 3 eggs per bag. You can check them and return them to the pot if they aren’t done yet.
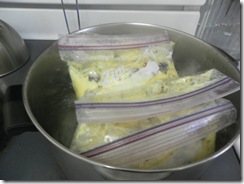 They will probably float to the surface, but don’t worry they’ll still cook.
You can eat them from the bag…
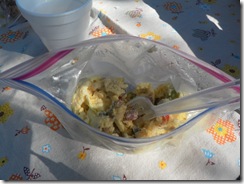 Our omelet in Yellowstone
Or remove it onto a plate…
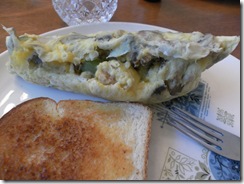 Our omelet at home
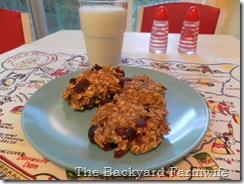 They are really good for breakfast with a bowl of plain or vanilla yogurt!