These aren't too hard to make but they do take a bit of time and require a steamer. This recipe is for the Ninja Foodi Deluxe but you could steam them in a electric pressure cooker or steamer basket on the stove. You may have to adjust times and methods accordingly.
There are probably a ton of different fillings you could use as well but I am including my favorite hoisin pork filling.
Place 1/2 cup hot water (105 degrees) in bowl. Sprinkle 1 package of yeast on top. Let sit 5-10 minutes.
In a large bowl, combine:
3 cups all purpose flour
3 Tablespoons sugar
1/2 teaspoon baking powder
Warm 1/2 cup milk to 105 degrees and add 1 Tablespoon of oil. Mix with water and yeast.
Make well in flour and pour in wet ingredients. Mix slightly.
\
Turn onto floured surface and knead and add flour to surface until smooth and elastic.
Put into an oiled bowl, flip dough, and cover with a towel.
Place in the oven with a shallow pan of boiling water on the rack below. Let rise for 45-60 minutes or until about doubled in size.
While the dough is rising, prepare your filling.
Brown some ground pork in a skillet. Make sure to break it up into small pieces for your filling. You don't want big chunks of meat.
After it is cooked, add in some hoisin sauce (or sauce of your choice). You want the meat covered but not wet.


After the dough has risen, punch it down and knead a few times on a lightly floured surface.
Then divide the dough into 24 equal pieces.
Roll each piece into a circle. Don't roll it too thick or too thin.
Place the dough in your hand and place a bit of pork filling in the middle.
Bring the edges up and pinch and pleat all the way around. Then twist it a bit at the top to seal.
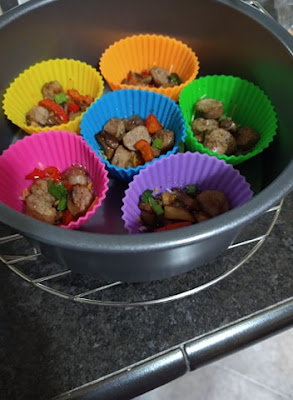
Then place the bun into a standard-sized silicone muffin "paper".
You can double stack these on the racks but don't do more than 6 on each layer.
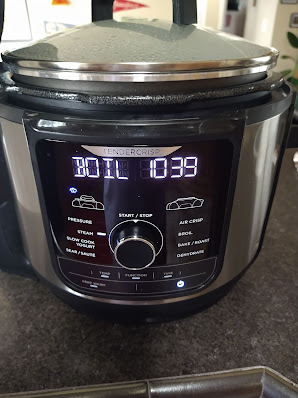
Fill the bottom of the pot with 1-2 cups of boiling water. And place the rack inside the pot.
If you are doing a double layer, steam the buns for 14-15 minutes.
If you are doing a single layer, place them on the taller rack and steam for 12-13 minutes.
I tried this recipe with the pressure cooking lid and the Ninja glass lid. I found they did not steam correctly with the PC lid, even on vent. I would suggest buying the Ninja lid or even finding a glass lid that fits the pot for this recipe.
Start with the lower time and carefully remove the lid as soon as the timer stops. Remove one of the buns with tongs and let sit for about 30 seconds. Try removing it from the silicone mold. If it sticks and doesn't want to come out, put it back, put the lid back on and steam for another 1 minute. Check again the same way. Mine have never taken more than the extra minute.
Eat these right away.
You can also chill them for the next day or then freeze them.
To reheat, place frozen or leftover bun on a glass plate and cover with a damp paper towel. Microwave for about 1 minute or until heated through. You can also steam them again from frozen in the Foodi for 5-6 minutes or until heated through.


